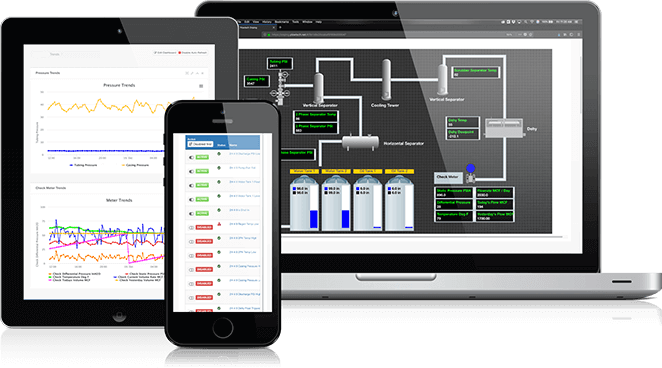
Let’s build a Plunger Simulator With Inferno Control Parameters!

Pak Energy’s OnPing platform is always trying to make it faster and easier for you to get data from your field devices in the form you need it.

For years, our control parameter platform has been a key part of this strategy. The most well known diagram of our data chain is probably this one.


This diagram is great because it so clearly shows the way data flows to and from OnPing. On this diagram, control parameters live in the second piece.

Our existing control parameter engine brought a level of control to edge devices in the Oilfield that hadn’t existed before. You could easily deploy small scripts

to do simple tasks like aggregating flow rates or converting data from various formats. When we first designed control parameters we figured that people would have maybe a dozen or so on a single lumberjack. We were wrong! There are lumberjacks out in the oilfield running 100s of these parameters. We like to joke that people really like using OnPing to add 2 things together! Of course adding 2 things together across lots and lots of things is really hard. We wanted to build on the lessons we have learned deploying scripts at the edge for the last 6 years. We also wanted to incorporate our new inferno-engine which is designed around doing data transformations of the type so common to SCADA and IIOT applications.

The primary features of the new control parameter engine are:

  • Synchronize your scripts across sites.
  • Use inferno version control to track changes.
  • Use array support to simplify aggregation.
  • Use multi-output support to change the state of multiple items at once.
  • Guarded retry will automatically retry a missed write within a window.
  • Throttling will make sure a script can’t run away on you.
  • Scheduling allows scripts to be ran with complicated periods.

To show off all these things we are going to build a plunger simulator in OnPing.

There are a lot of ways we could build a plunger simulator. We could build out from physical principles in a manner similar to what we did for

our critical turner rate in OnPing post but I think that would be overkill for what we are wanting to show. Mostly this post is about demonstrating the versatility and

ease of use for the new inferno control parameter system.

We will start with a simple state change and add more and more detail.

I’ll borrow a little state history from a plunger that we have in OnPing.

11/21/2024, 12:06:58 AMAFTERFLOW
11/21/2024, 12:11:03 AMOFF FOR PLUNGER DROP
11/21/2024, 12:18:14 AMLIFTING
11/21/2024, 12:53:09 AMAFTERFLOW
11/21/2024, 12:57:15 AMOFF FOR PLUNGER DROP
11/21/2024, 1:04:25 AMLIFTING
11/21/2024, 1:39:21 AMAFTERFLOW
11/21/2024, 1:43:28 AMOFF FOR PLUNGER DROP

It is great to have real data to use!

To build this simulator we will start with a few parameters, a counter and a state.

We will build them as mqtt parameters and initialize them with 0 and “Start” respectively.

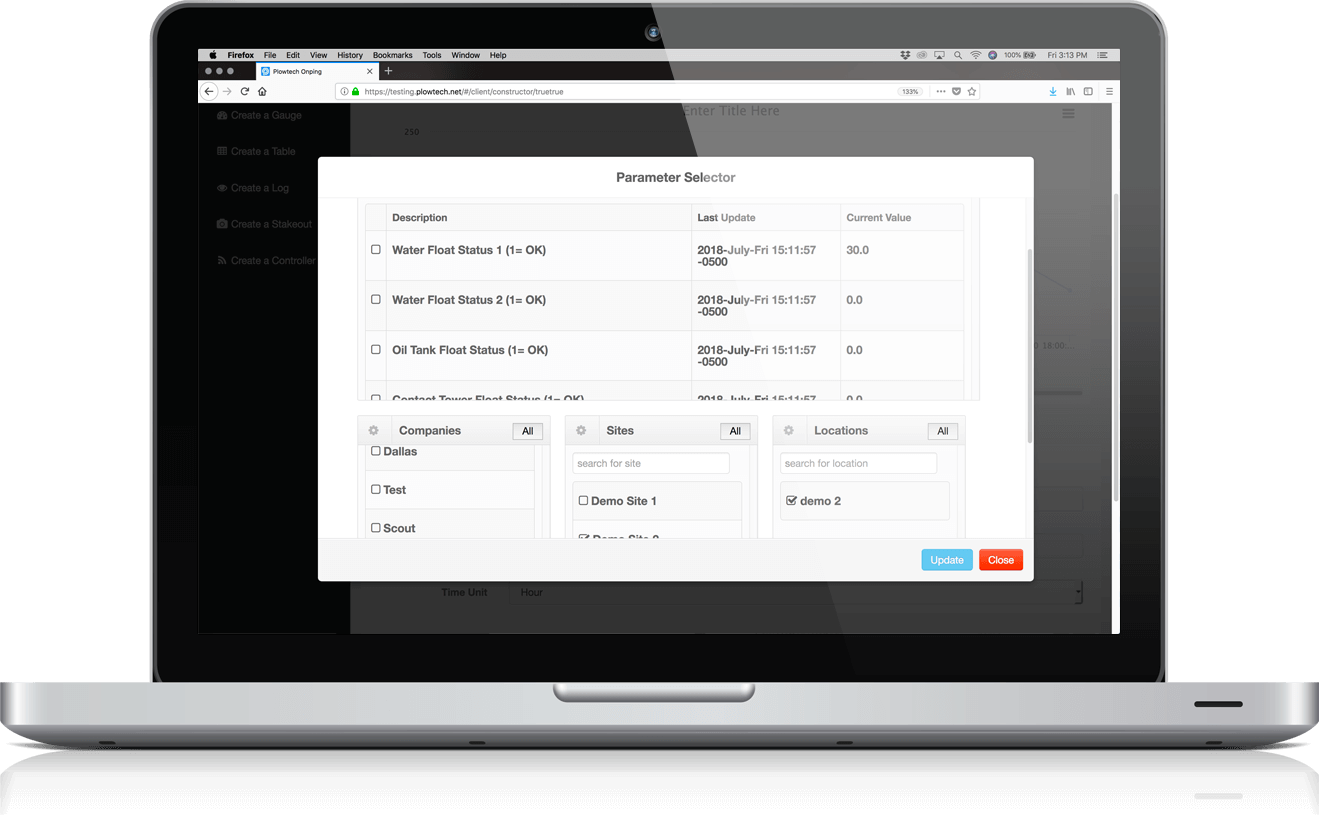
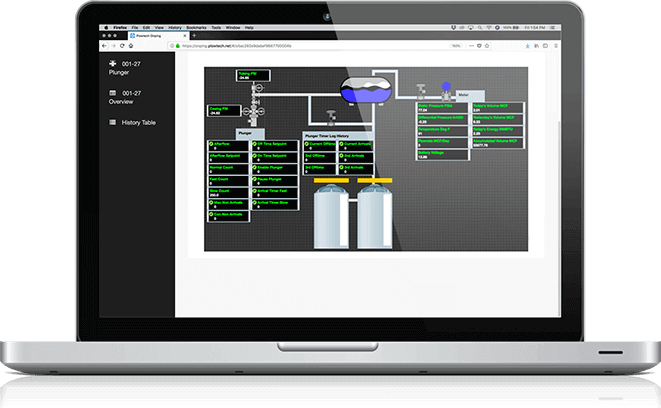
Then add a small HMI to control them.

This will allow us to see and control what is happening.

Let’s start working on a control parameter. First, you need to make sure your lumberjack has the control-parameter-engine installed in LAS.

In addition to this, you will need the following applications installed.

  • onping-pubsub
  • virtual-parameters-calc-inferno
  • inferno-vc-server
  • tachdb

Here is a little diagram, taken from the documentation that shows how these systems work together to power the control parameters.

A full dive into the inner workings here is a bit beyond the scope of the post but you can see there is a lot going on in that little black box.
The lumberjack doesn’t just do logging anymore!

When you have all these parts installed it is time to go to the control parameter screen from the bookmark in OnPing.

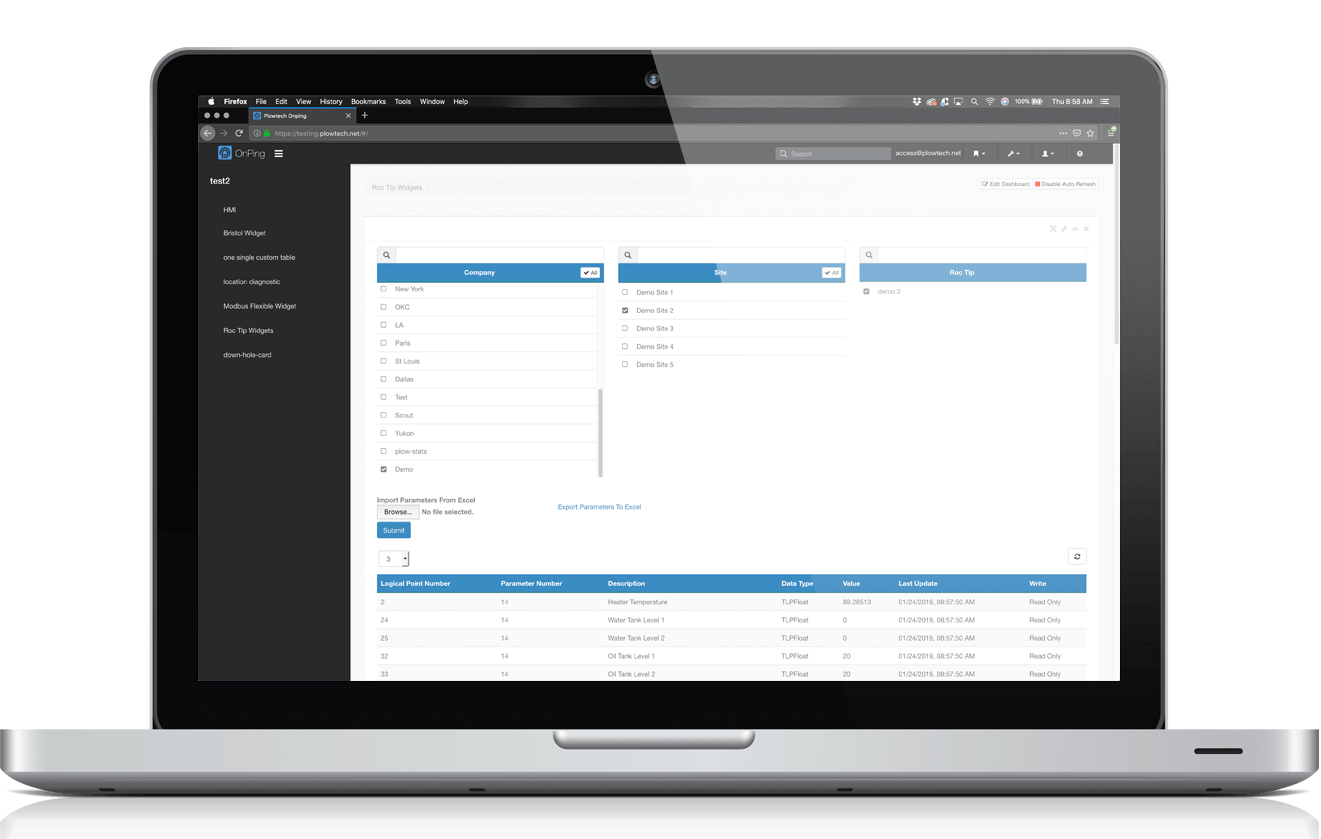
From there pick Create New from the panel on the right, Select your lumberjack and you will get a menu that looks like this:

If. you are familiar with our previous control parameter system, then you will know this is new. Much like our virtual parameters, you can select which script you want to use on this device and build out from premade templates. Of course, we don’t want that. we want to build a new script. Press Create New and lets get started!


You should see a screen that looks like this:


From here we are ready to get started.  I like to move my script editor to full screen.

I also like to get things ready by naming and saving things:

One thing that is great about the new inferno control parameter system is being able to name your inputs

and outputs!

The script window below shows the form the output will always take, a record of the outputs you have declared.


You assign your parameters to the script here using the blue pencil icons. I am going to skip ahead a bit though

and show some of the language features now. For information on creating the parameters needed to build these simulators I would

start with this youtube video.

Here is a completed script:


{
  well_out = "Start"; 
  clock_out = 0.0
}

Basically all this script is doing is whenever the control parameter is scheduled to run it will write “Start” and 0.0 for each output.
We then can save and create the parameter by clicking on “save and assign”.

This makes the script and sets us up to put it into production. From here you will see a screen that looks like this.

It has several fields that you need to fill in.

The ones that probably need the most explaining is:

  • run type

Run type is what determines when a script can run.
The options are:

  • OnChange (any|only|except) – run when one of the inputs is updated.
  • ByPeriod – run the script at given specific frequency i.e. hourly, every minute.
  • OnSchedule – run the script at given specific times, everyday at 1:00 for instance.

The on change option probably deserves a bit of extra text. Change here means even an update in time

of last poll, not just if the value actually changes.


When you save the parameter is live and data will start coming in!

This is a pretty boring simulator though!

Lets make it run through a set of states. Here is a more useful plunger simulator.


let nextWellState =
  fun wst ->
    match wst with {
      | "Start" -> "AFTERFLOW"
      | "AFTERFLOW" -> "OFF FOR PLUNGER DROP"
      | "OFF FOR PLUNGER DROP" -> "LIFTING"
      | _ -> "Start"
    }
in
let updateWellState =
  fun clk st -> 
    if ((round clk) % 10) == 0 
    then nextWellState st 
    else st
in
let newClockValue = (Option.reduce id 0.0 (latestValue clock)) + 1.0 in
let oldWellState = Option.reduce id "Start" (latestValue wellstate) in
let newWellState = updateWellState newClockValue oldWellState in
{well_out = newWellState; clock_out = newClockValue}

This has a lot more useful stuff going on.
First the match command matches an existing state and replaces it with the next one.

Second, the clock only allows this state change every 10 minutes.
Now we have a useful set of States!

12/12/2024, 12:06:00 AMStart
12/12/2024, 12:16:00 AMAFTERFLOW
12/12/2024, 12:26:00 AMOFF FOR PLUNGER DROP
12/12/2024, 12:36:00 AMLIFTING
12/12/2024, 12:46:00 AMStart
12/12/2024, 12:56:00 AMAFTERFLOW
12/12/2024, 1:06:00 AMOFF FOR PLUNGER DROP
12/12/2024, 1:16:00 AMLIFTING
12/12/2024, 1:26:00 AMStart
12/12/2024, 1:36:00 AMAFTERFLOW
12/12/2024, 1:46:00 AMOFF FOR PLUNGER DROP
12/12/2024, 1:56:00 AMLIFTING
12/12/2024, 2:06:00 AMStart
12/12/2024, 2:16:00 AMAFTERFLOW

From here, we could add all sorts of interesting adjustments but this is already a long long post.

With the ability to write to multiple values in a synchronous way, the capabilities of inferno control parameters will take OnPing quite a long way. This approach opens the door to complex logic, synchronized state changes, and more advanced use cases—all without sacrificing user-friendliness. Ultimately, the improved control parameters will help ensure OnPing remains ready to handle the evolving needs of modern automation and data applications.