Changing Lumberjack Network and Time Zone Settings Locally
With Lumberjack powered up, on personal computer enable wifi and check for available connection “lumberjack-xxx”, if not available try moving closer to Lumberjack. Once in wifi list click “Connect”, password will be plowtech. (This is not an Internet Connection)
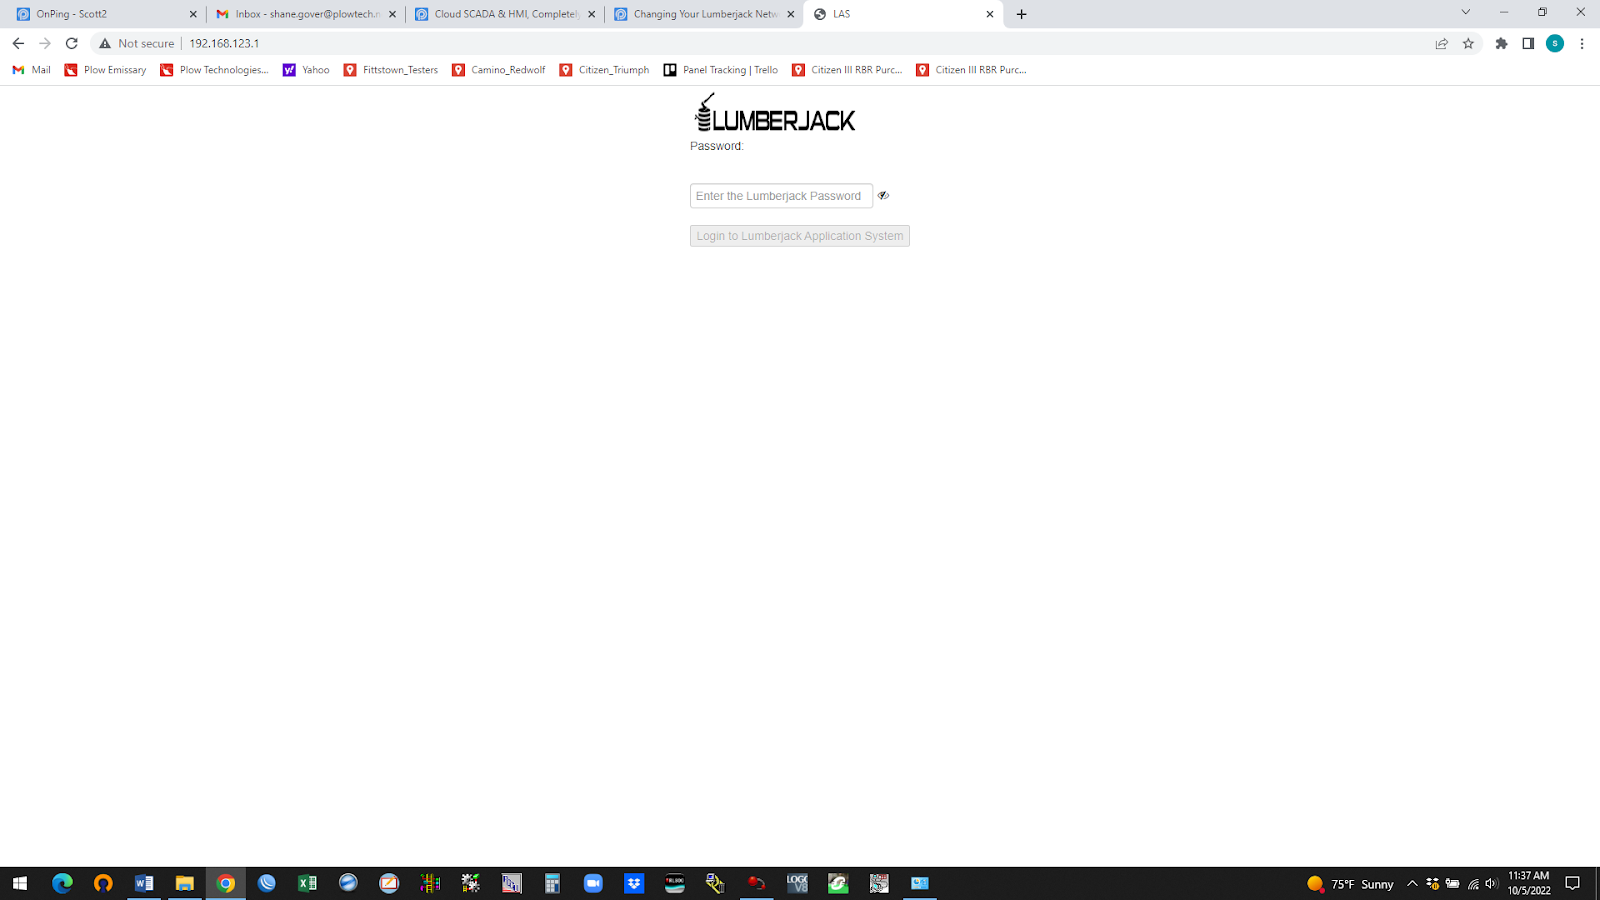
Open internet browser and in command line type 192.168.123.1 and hit enter. When password page loads, enter admin for password.
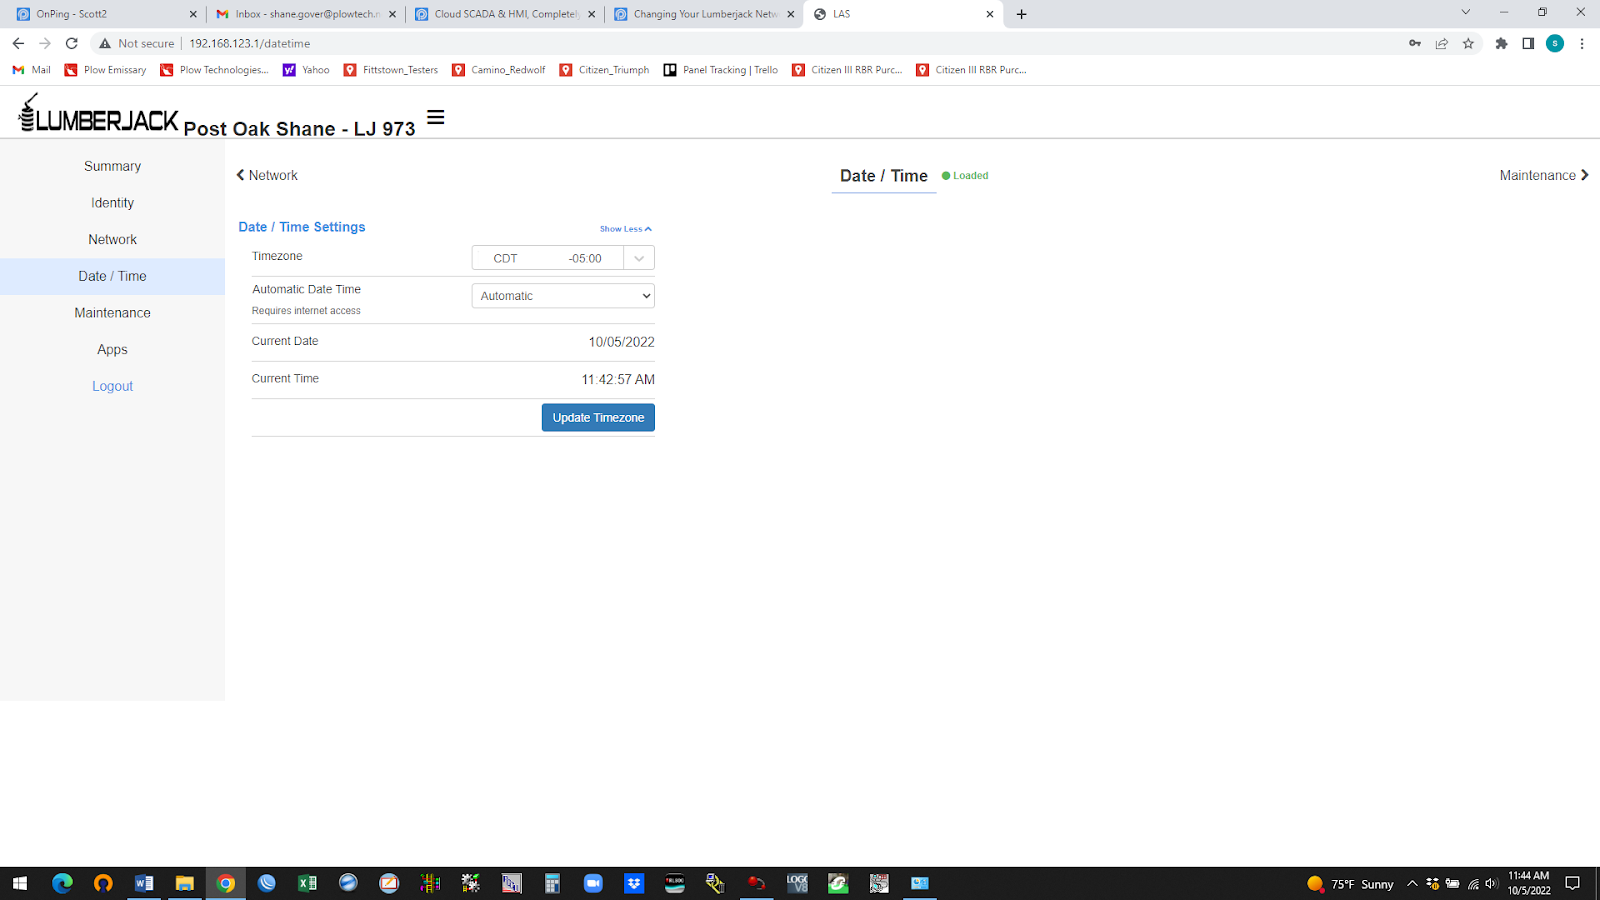
If changing the Time Zone, click “Date/Time” on left side and adjust for the zone the LumberJack will be used. Click “Update Timezone”.
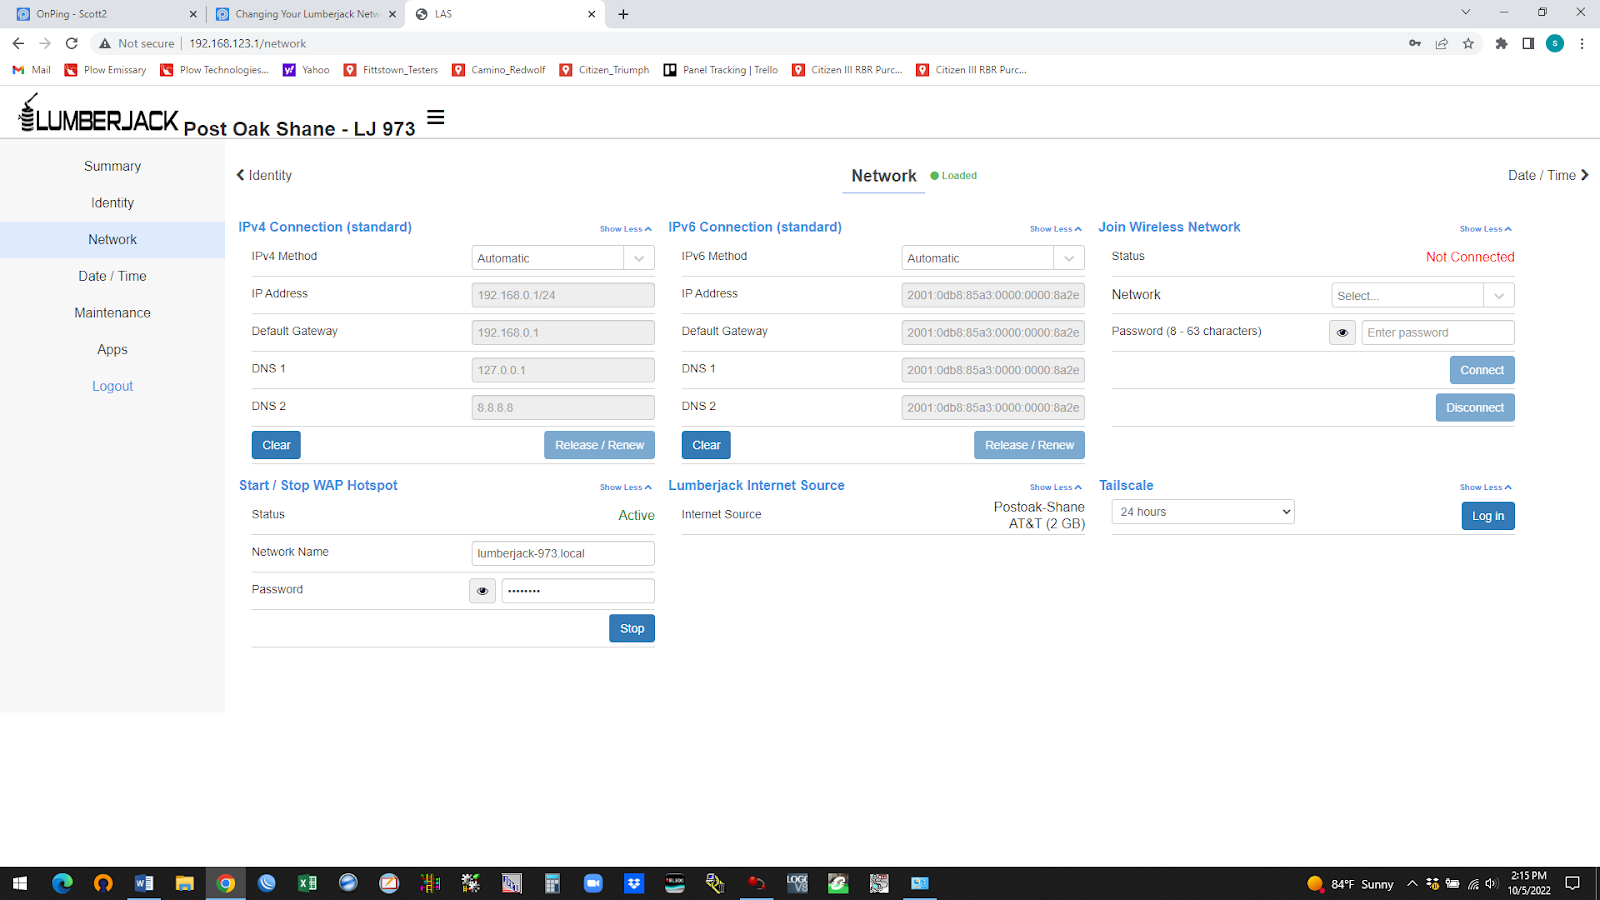
Click “Network ” on left to edit IP settings.
Under “IPv4 Connection”, In “IPv4 Method” drop down box select “Manual”. In “IP Address” type the static address you want the Lumberjack to be, followed by /24, this is the subnet mask 255.255.255.0. In “Gateway” type the address of the IP that is your internet access point or the IP of the supplied ethernet switch which was set earlier in previous chapter. Once complete press “Release/Renew” and reload page, if settings did not take affect the LumberJack will go back to default configuration.
Once complete exit out of LumberJack, Setup is complete.